

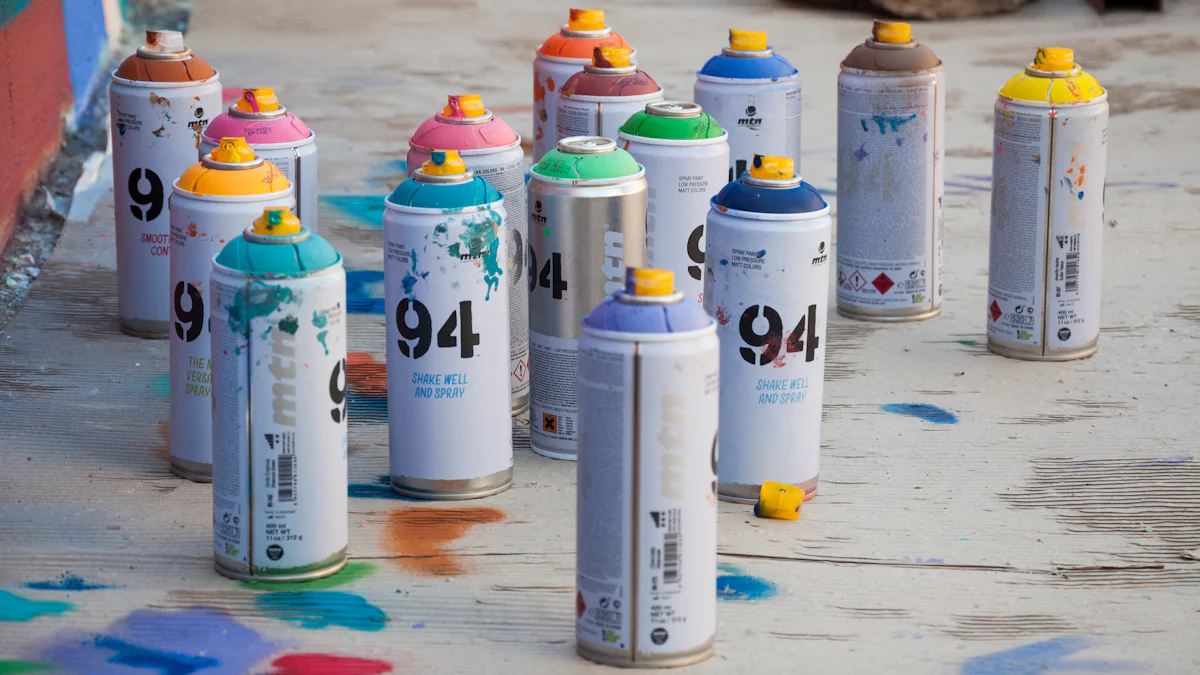
When I use disposable spray paint cups, I notice how much easier and cleaner the painting process becomes. These cups save time by eliminating the need for cleaning, especially during frequent color changes. They also improve paint quality by preventing cross-contamination. Studies show they increase productivity by 20%, boosting revenue by $200 daily.
Pro Tip: Switching to disposable spray paint cups reduces waste and environmental impact. Their lightweight design makes them perfect for on-the-go projects.
Explore options like these at https://www.gbplasticfactory.com/products.
Key Takeaways
- Disposable spray paint cups save time and keep paint clean.
- Make sure the cup fits your spray gun for best results.
- Seal and throw away used cups to keep your area tidy.
Preparation for Using Disposable Spray Paint Cups

Tools and materials required
When I prepare for spray painting, I always gather the essential tools and materials first. This step ensures a smooth and efficient process. Here’s what I recommend having on hand:
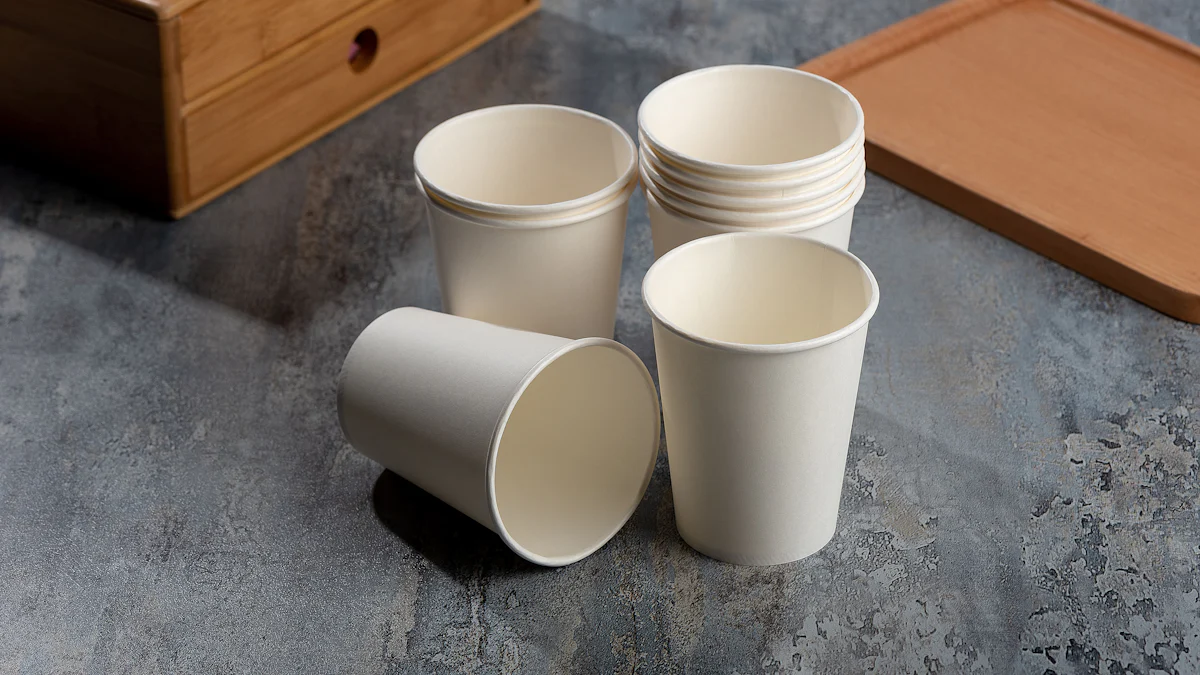
- Disposable mixing cups for holding and mixing paint.
- Lids with filters to prevent debris from entering the spray gun.
- Flat lids for mixing paint on a shaker or storing it long-term.
- Shaker adapters to securely attach the cup to a paint shaker.
- Easy-connect adapters for connecting the lid to the spray gun.
- Storage plugs for sealing the lid when storing paint upside down.
- Pre-filters to strain paint and avoid clogging.
- Personal protective equipment (PPE), including gloves, respirators, and goggles.
Labeling the cups when using multiple colors is also a good practice. It helps me avoid confusion and keeps the process organized.
Choosing the right disposable spray paint cup system
Selecting the right system is critical for achieving professional results. I always check for compatibility with my spray gun. Some systems, like the CTW Spray Cup System, offer excellent quality and affordability. They prevent issues like leakage and clogging.
I also consider the material. Rigid plastic works well for durability, while flexible liners are better for quick cleanup. Capacity matters too. For larger projects, I choose bigger cups to avoid frequent refills. Lastly, I trust reputable brands to ensure reliability and consistent performance.
Setting up your workspace for spray painting
A well-organized workspace is key to safety and efficiency. I make sure the area is well-ventilated by using fans and keeping doors open. I also wear protective gear, including gloves, goggles, and a respirator.
To optimize the space, I clear obstacles and cover nearby surfaces to protect them from overspray. I ensure there’s enough room to move around safely, especially when working with large objects. Keeping tools within easy reach saves time and reduces frustration.
By following these steps, I create a safe and efficient environment for using disposable spray paint cups.
Step-by-Step Guide to Using Disposable Spray Paint Cups
Inserting the liner into the cup
I always start by inserting the liner into the paint cup. This step ensures a clean and efficient painting process. Here’s how I do it:
- Select a disposable spray paint cup that fits my spray gun model.
- Place the liner inside the cup, making sure it fits snugly without wrinkles.
- Double-check that the liner is secure and ready to hold paint.
This simple preparation step prevents leaks and keeps the paint contained, making cleanup much easier later.
Pouring and measuring paint accurately
Accurate paint measurement is crucial for achieving a consistent finish. I use the following steps to pour and measure paint effectively:
- Pour the paint slowly into the liner to avoid spills.
- Use the transparent design of the cup to monitor the paint level.
- Stop pouring before reaching the maximum capacity to prevent overfilling.
This method not only saves paint but also ensures the final coat looks smooth and professional.
Securing the lid to prevent leaks
Securing the lid properly is essential to avoid messy leaks. I follow these best practices:
- Place the lid on the cup and press it down firmly.
- If the cup has a locking mechanism, I engage it to create a tight seal.
- I give the lid a quick twist to confirm it’s secure before moving on.
A well-sealed lid keeps the paint contained and prevents accidental spills during use.
Connecting the cup to the spray gun
Attaching the cup to the spray gun is straightforward but requires attention to detail. Here’s my process:
- Choose a cup compatible with my spray gun and paint type.
- Screw the cup onto the spray gun’s adapter until it’s tightly secured.
- Adjust the spray gun settings, such as air pressure and fluid flow, to match the paint manufacturer’s recommendations.
This step ensures the spray gun operates smoothly and delivers a consistent spray pattern.
Testing the spray gun for proper functionality
Before starting any project, I always test the spray gun to ensure it’s working correctly. My testing routine includes:
- Turning on the compressor and setting it to the recommended PSI.
- Checking for air leaks in the hose or gun.
- Performing a test spray on cardboard to adjust the spray pattern and ensure even coverage.
Testing the spray gun helps me catch any issues early, saving time and avoiding mistakes during the actual painting process.
Tips for Achieving Professional Results
Maintaining a consistent spray pattern
A consistent spray pattern is essential for achieving a smooth, professional finish. I always focus on maintaining steady hand movements while spraying. Keeping the nozzle at a uniform distance from the surface—usually 6 to 8 inches—helps me avoid uneven coverage. I also make it a habit to regularly check and adjust the spray equipment’s settings. This ensures the spray gun operates at optimal performance throughout the project. These simple techniques help me achieve a flawless finish every time.
Avoiding over-spraying and clogging
Over-spraying and clogging can ruin a project, but I’ve learned how to prevent these issues. Before starting, I strain the paint to remove debris that could clog the sprayer. Using the right size strainer based on the paint’s thickness ensures all impurities are filtered out. For thicker paints, like water-based latex, I thin them slightly to improve flow. I also clean the filters inside the sprayer regularly and give the equipment a thorough cleaning after each use. These steps keep my sprayer in top condition and prevent dried paint from causing future problems.
Proper cleaning and disposal of used cups
Cleaning and disposing of used disposable spray paint cups is straightforward. After finishing a project, I remove the liner and dispose of it responsibly. If there’s leftover paint, I seal the cup with a storage plug for future use. For cleaning, I rinse reusable components with the appropriate solvent to remove any residue. Proper disposal and cleaning not only keep my workspace tidy but also extend the life of my equipment.
Troubleshooting Common Issues
Fixing uneven spray patterns
Uneven spray patterns can ruin the finish of a project. I’ve encountered this issue before and found that identifying the root cause is the first step to fixing it. Here are some common causes and solutions:
- Incorrect Tip Selection: Using the wrong tip size or type can lead to poor atomization. I always choose a tip that matches the paint’s viscosity.
- Inadequate Pressure: Low pressure often results in streaky sprays. Adjusting the compressor to the recommended PSI usually solves this.
- Airless Pump Issues: Air entering the pump disrupts the spray. I check for loose fittings and tighten them to prevent air intake.
- Blocked Filter Mesh: A clogged filter restricts paint flow. Cleaning or replacing the filter restores consistent spraying.
- Small Spray Hose ID: A narrow hose can reduce pressure. I use a hose with the correct internal diameter for my setup.
- Multiple Spray Lines Attached: Too many lines reduce pressure. I limit the number of lines connected to the pump.
- Material Viscosity and Thickness: Thick paint may require thinning or a larger tip size. I adjust accordingly to ensure smooth application.
By addressing these factors, I maintain a flawless spray pattern throughout my projects.
Preventing paint leakage
Paint leakage can create a mess and waste materials. I follow a systematic approach to prevent this issue:
- Select a disposable cup compatible with my spray gun and paint type.
- Attach the cup securely to the spray gun’s adapter. Some setups may need an additional adapter ring.
- Mix the paint thoroughly and strain it to remove impurities.
- Pour the paint into the cup, ensuring it doesn’t exceed the maximum fill line.
- Secure the lid tightly to create a proper seal.
- Adjust the spray gun settings based on the paint manufacturer’s recommendations.
- Test the setup by spraying on a scrap surface to confirm there are no leaks.
- Dispose of the cup responsibly or replace the liner if needed.
These steps ensure a clean and efficient painting process without any unexpected spills.
Ensuring compatibility with different spray guns
Ensuring compatibility between disposable spray paint cups and spray guns is essential for smooth operation. I always verify a few key factors before starting:
- I choose a cup designed for my specific spray gun model and the type of paint I’m using.
- I check the cup’s capacity to ensure it meets the demands of my project.
- For gravity-fed spray guns, I confirm that the cup fits securely or look for an appropriate adapter.
By taking these precautions, I avoid compatibility issues and achieve professional-quality results with disposable spray paint cups.
Using disposable spray paint cups simplifies the painting process and ensures professional results. To recap, follow these steps:
- Select a compatible cup and prepare the paint by mixing and straining it.
- Attach the cup securely to the spray gun and adjust the settings.
- Spray evenly, refill as needed, and dispose of used cups responsibly.
These cups save time, reduce costs, and improve paint quality by preventing contamination. Their versatility and environmental benefits make them ideal for both professional and DIY projects. I encourage you to try disposable spray paint cups for your next project and experience their efficiency firsthand.
FAQ
What types of paint can I use with disposable spray paint cups?
You can use most types of paint, including water-based, solvent-based, and latex. I always check the paint’s viscosity and compatibility with the cup system.
How do I prevent paint from drying inside the cup?
I seal the cup with a storage plug immediately after use. For longer storage, I clean reusable components with the appropriate solvent to remove any residue.
Can I reuse disposable spray paint cups?
I reuse the outer cup and lid if they remain clean. However, I always replace the liner to maintain paint quality and prevent contamination.
Post time: Feb-03-2025